|
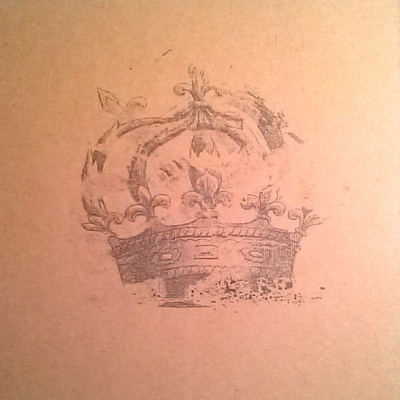
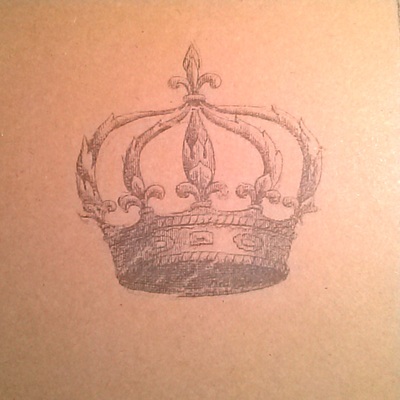
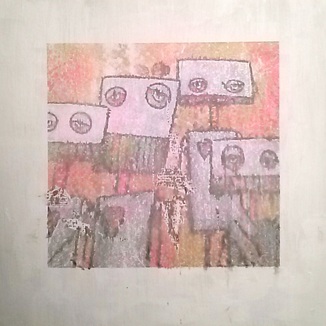
Welcome to the first installment of 'Try-It-Out Tuesdays'! Today I'm trying out a tutorial I've been curious about for a while. Transferring pictures to wood. This method for transferring is from theartofdoingstuff.com. It is only one of many ways to do it. I thought it looked the easiest. Check it out real quick, then come back. Cool, right? Well, I took the maiden voyage for you here...and maybe you're more like I am...a craft fumbler. Let me start with a little disclaimer: I am NOT trying to de-bunk someone's craft as a fake or to say something can't be done properly. The first tutorial I chose is awesome and she clearly knows what she's doing. That's not what this is about, though. I'll be honest. I'm a painter, not a crafter. My attempts at crafts are generally pretty lousy, but I still like to try! I don't like to try and try again, though...thus, the pretty lousy. So my judgement is based purely on this: Did it work for ME (a low-patience non-crafter) well enough on the first try that I'd at least give it another shot? My vote for this craft is: YES! (Kind of.) Here we go: 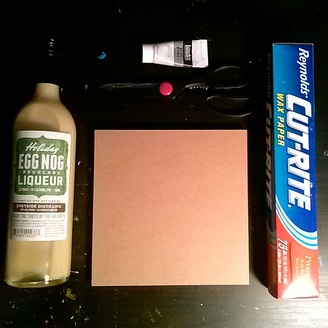 STEP ONE: Gather your supplies. Here's what I used. *You could probably forgo the tube of white paint if you wanted to. ::snark:: The wood is just an 8x8 piece of plywood. The kind with the smooth paper-like overlay. Sorry I can't be more specific. I had Mr. Plywood cut me a whole sheet of it in various sizes one time, so that's what I'm using here. Oh, and you need a regular inkjet printer, too. 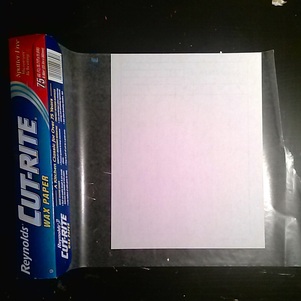 STEP TWO: Cut a few sheets of wax paper the size of your printer paper. I did it like this. Snip snip. Easy so far. Cutting paper is fun. 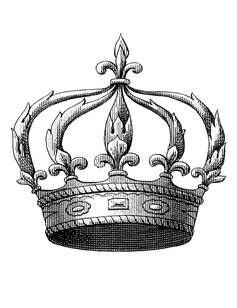 STEP THREE: Gather your wood and your graphic. I followed the directions from the tutorial and found this crown over at The Graphics Fairy. For my first try, I wanted to stick with the tutorial. In my 2nd attempt you'll see why that was a good idea. I also wanted an image I didn't have to 'flip' in a photo editor. 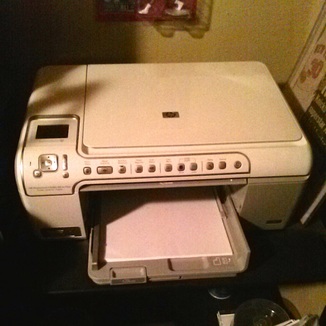 STEP FOUR: Print. Okay. This is the step that's a total craft buzzkill for the low-patience non-crafter. This is our printer. The typical scanner/printer combo. The one from the tutorial was a top-feeder. Maybe that's easier. I can see how it might be. I jammed 3 sheets of wax paper right up in there before I got one through. I don't know what to tell you. Try, try again? Feed it as gently as you can. But don't push. And don't pull! And DON'T get your hopes up. I finally just got one to go somehow. And it wrinkled. But if you go into knowing it's going to wrinkle, you can just plan on a 'vintage' look. I'm curious enough to practice this step some more. I'll let you know. Or you let me know. Is there thicker wax paper? I shall see.  NEXT: It's TRANSFER time, baby! I used a debit card for this. Pun only slightly intended. I don't know how long you've got to get the wax paper from printer to wood. I just did it immediately. And I didn't experiment with that. As the tutorial said, DON'T move the wax paper once you place it. It's slippery, though. So it's gonna win. What happened, you ask? WELL... Below you see my first attempt and my second attempt with the crown. The second attempt is actually pretty cool! It's crisp and clean! I'll probably paint over this crown. Next time, I can see doing it with one of my go-to subjects, though....like a robot or an owl or something. I call this portion of the experiment a complete success! I'm totally inspired by what I could do with practice and some planning. THEN THIS HAPPENED: Yeah. ::crickets:: I painted the same piece of wood white and printed a picture of one of my paintings to the wax paper for transfer. Yeah, probably don't do that next time. Maybe it was the white paint. Maybe it was the resolution of my photo. Maybe it was the multiple colors. I have no way of knowing on a first run. The colors in the photo above are accurate, though. It's not from 1970. And it was not a good time. Here is where I drop the mic. Because I'm a painter. Not a crafter. ....and scene. Do you have a DIY/tutorial you've been wanting someone else to try first?
Send it to me and maybe I will! [email protected] Comments are open.
Awesome! I also follow "The Art of Doing Stuff". Comments are closed.
|
